Recently, I’ve ran into a few situations where I needed to export some SQL data into a CSV on a daily basis. I also needed to keep these CSV files in an archive folder for reference in case a problem came up. Moving the files to an archive folder is not a problem using the “File System” task, but the CSV needs to be a unique name otherwise it will just overwrite the previous file. There are numerous ways to make the filename unique, but in the post I’ll describe adding a datetime stamp to each file which also helps determine when the file was created.
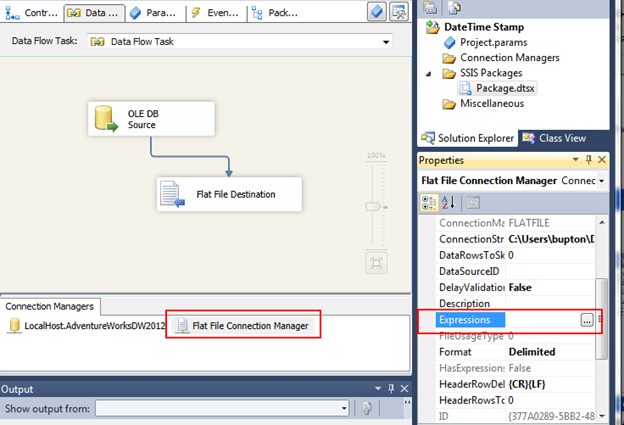
I’ll assume you already have a Data Flow task configured with a destination and a flat file source. In this example, I’m going to use the AdventureWorksDW2012 database and copy data from the DimProduct table to a CSV. I already have my OLE DB source task configured and now I’m going to configure the Flat Destination.
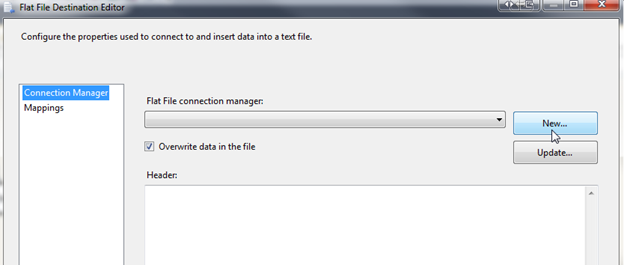
Right click the Flat File Destination and click Edit:

In the Flat File Destination Editor, click New…
Select Delimited and click OK.
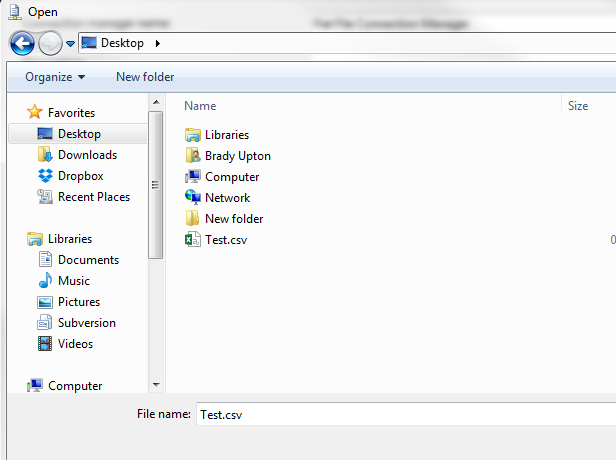
I’ve created a blank CSV on my Desktop which we’ll use for now, but this will eventually change:
Click OK and select Mappings and verify all the mappings from the source are correct:
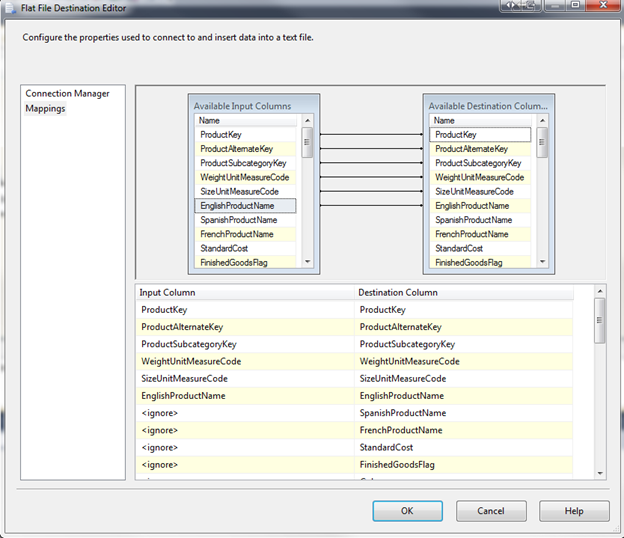
Once this is verified, click OK. (For this example, I only want to copy the first 6 columns)
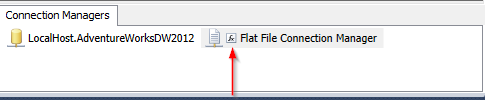
Next, we need to create an expression on the connection string so that it knows to add the datetime stamp. Click on the Flat File Connection Manager. Scroll down the Properties window until you see Expressions:
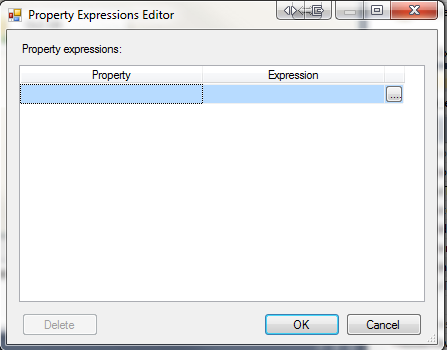
Click the ellipsis beside Expressions and the Property Expressions Editor will appear:
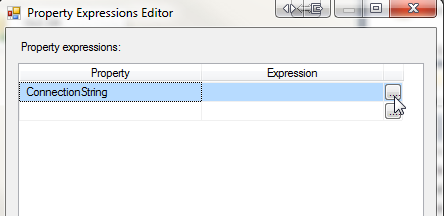
Under Property, select Connection String and click the ellipsis under Expression:
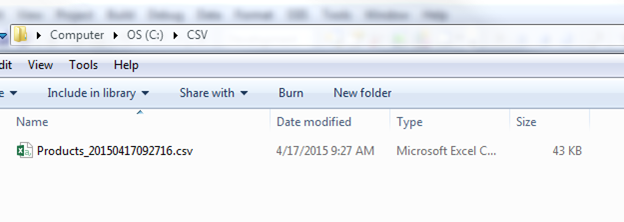
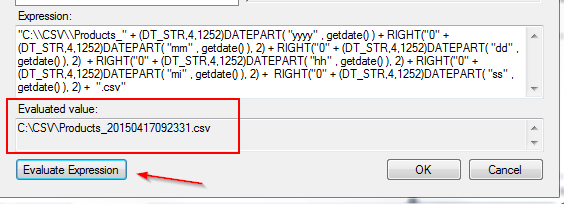
You should now see the Expression Builder window. Here is where we will define our complete file name including file path. For this example, I want to create the CSV in a directory named CSV on the C: drive. The filename that I will use is Products_datetime stamp.csv so the final output should be C:\CSV\Products_20150417092331.csv
The expression I’ll use to achieve this is below:
"C:\\CSV\\Products_" + (DT_STR,4,1252)DATEPART( "yyyy" , getdate() ) + RIGHT("0" + (DT_STR,4,1252)DATEPART( "mm" , getdate() ), 2) + RIGHT("0" + (DT_STR,4,1252)DATEPART( "dd" , getdate() ), 2) + RIGHT("0" + (DT_STR,4,1252)DATEPART( "hh" , getdate() ), 2) + RIGHT("0" + (DT_STR,4,1252)DATEPART( "mi" , getdate() ), 2) + RIGHT("0" + (DT_STR,4,1252)DATEPART( "ss" , getdate() ), 2) + ".csv"
Type your expression in the Expression window of the Expression builder:
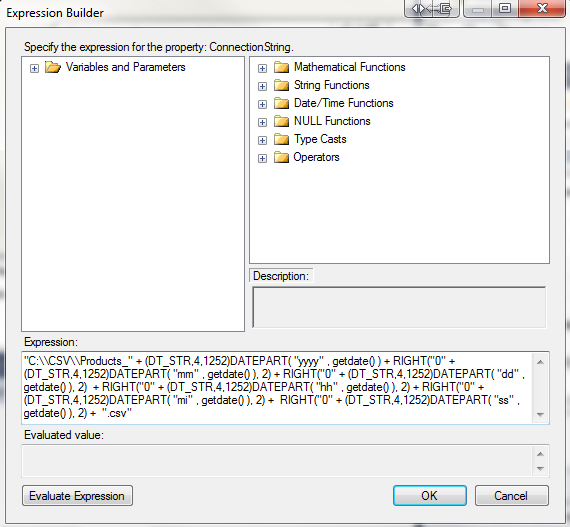
Click Evaluate Expression to view the output:
Now that the expression is built, click OK twice. You should now see the expression formula icon beside the Flat File Connection Manager:
If we execute the package and look inside the CSV folder, you should see our new file: