Problem:
I have a list of contacts in my SQL Server database that I would like to import into Salesforce and keep Salesforce up to date as new contacts are entered daily into my database. I know there are a few different ways to accomplish this but I’d like to use a SSIS package so I can automate.
Solution:
In my opinion, the best (and easiest) way to accomplish this goal is using SSIS packages and a component from CozyRoc called Salesforce Destination. CozyRoc provides advanced SSIS libraries of custom tasks, components and scripts for handling Zip, GZip, BZip2, Tar archives, enhanced script reuse and secure Internet communications. I always go to CozyRoc when I need a custom task. In this tip I’ll show you how to take a contact list from SQL Server and import it into SalesForce. I’ll also show you how to schedule this on a daily basis.
For this example, let’s say I have a contact table in my SQL Server database like the following:

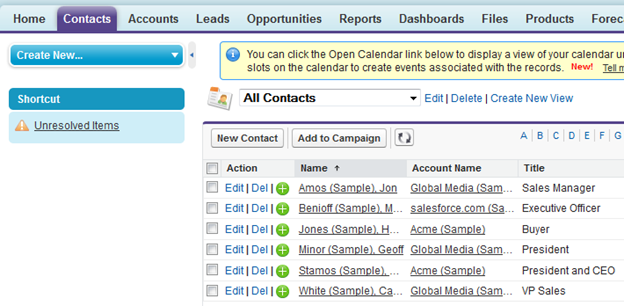
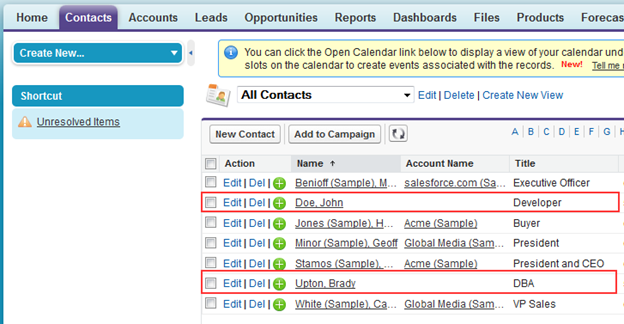
I need to import these records into my Contacts tab in SalesForce:
Create SSIS package
First thing I’ll need to do is download the CozyRoc SalesForce component. This download can be found here: http://www.cozyroc.com/ssis/salesforce-destination
I’ll download and install this component on the server or workstation that I plan on developing the package. Once installed, open SQL Server Data Tools and create a SSIS project:

First, let’s create a connection to the SQL Server database that stores the contact information and the Salesforce destination:
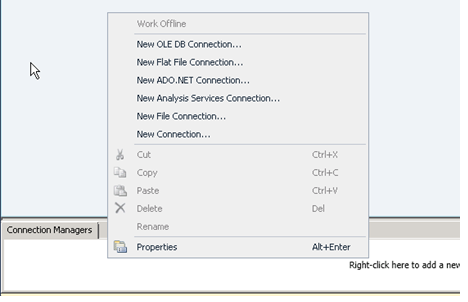
Right click in Connection Manager and create “New OLE DB Connection”:
Type Server Name, credentials, and select database from drop down that stores the contact information. In this example, I’m selecting my local server and Demo database:
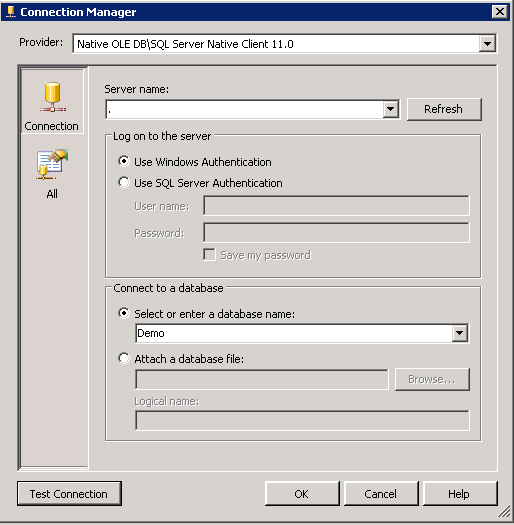
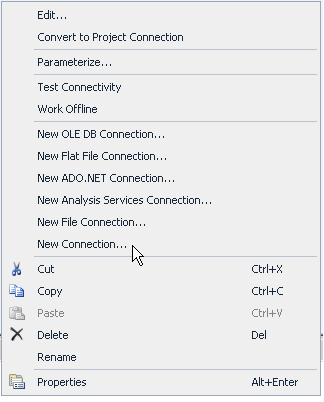
Test Connection and click OK. Right click on the Connection Manager again and click “New Connection”:
If the Salesforce Destination component was installed properly, you should see a connection called “SFORCE”:

Click Add. Type your UserName and Password + Security token. If you don’t know your security token click here to read more about resetting it.
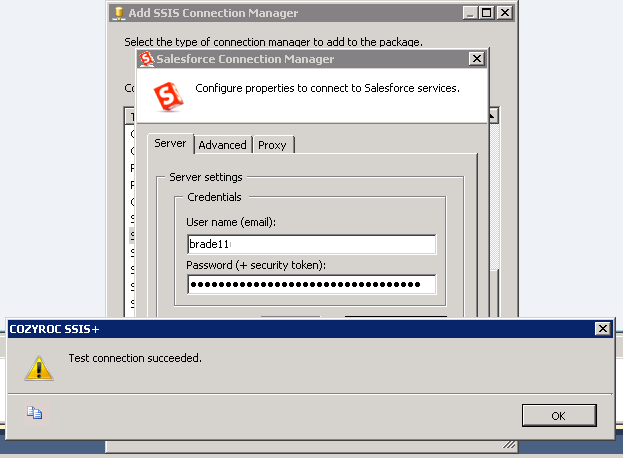
Once you have entered your login credentials, make sure to test connection.
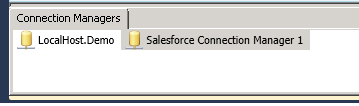
You should now have two connections in Connection Managers:
Now to designing the package:
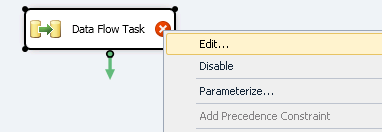
From the Control Flow we will add our Data Flow Task and right click to configure.
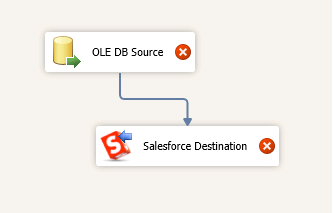
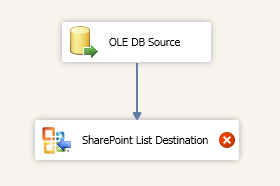
Add the OLE DB source and SalesForce Destination tasks to the designer:
Configure OLE DB Source:
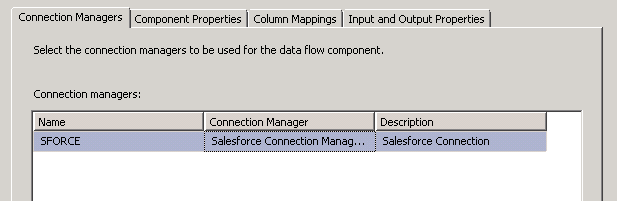
To configure the SalesForce Destination right click and edit. Choose the connection manager you created earlier:
Click the Component Properties tab and you’ll notice a few options under Custom Properties:
Action:
| Action | Description |
| Create | Create a new record in the destination object |
| Update | Update an existing record in the destination object. You must specify the appropriate object record identifier for the update to work. |
| Delete | Delete an existing record from the destination object. You must specify the appropriate object record identifier for the delete to work. |
| Upsert | Update and insert a record in the destination object. Selecting this value displays the dynamic parameter ExternalId. |
Batch Size: Specify the number of rows to be sent as a batch. The maximum for regular mode is 200. The maximum for bulk-load is 10,000\.
Destination Object: Specify the destination Salesforce object from a dropdown where the data is to be loaded.
ExternalID: Specify the external identifier field for updating the foreign key lookup with an external identifier.
Mode:
| Value | Description |
| Regular | Process the data in regular mode |
| BulkData | Process the data in bulk-load data mode |
| BulkBinary | Process the data in bulk-load binary mode |
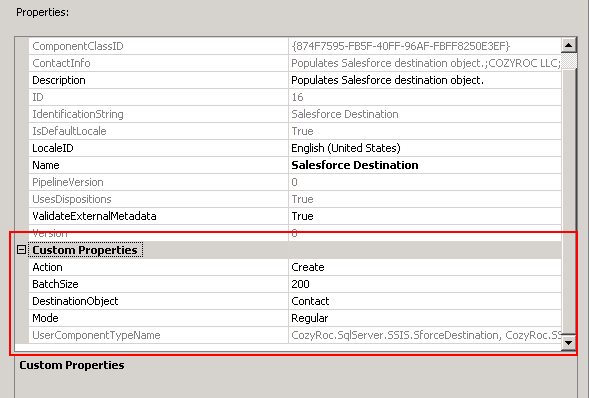
Since we are adding Contacts, we’ll select Create (Action) and Contact from the DestinationObject option.
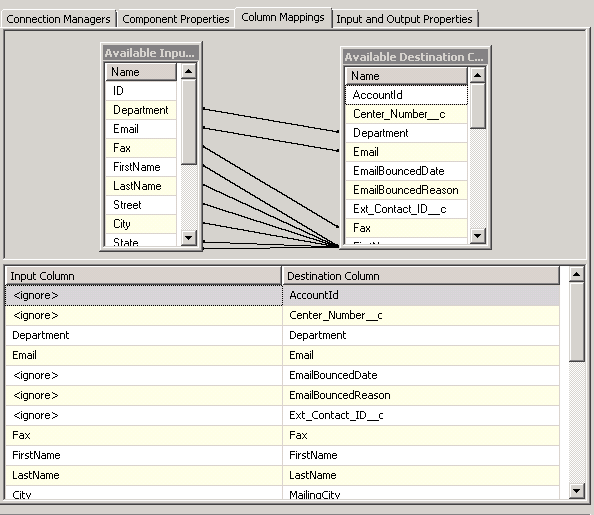
Click the Column Mappings tab and make sure all the columns are mapped correctly (delete mapping between ID’s for this example):
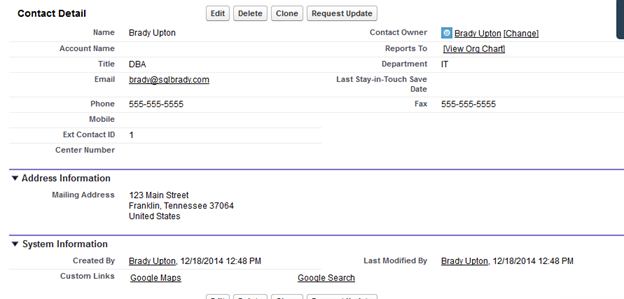
Run the package and if everything is setup correctly your Salesforce instance should new contacts in it:
Run this package as daily job
To run this package as a daily job that will populate Salesforce hourly, daily, weekly, etc. we’ll need to create a SQL Agent job and set a schedule.
Next Steps: