From Microsoft, the Aggregate transformation applies aggregate functions, such as Average, to column values and copies the results to the transformation output. Besides aggregate functions, the transformation provides the GROUP BY clause, which you can use to specify groups to aggregate across.
The Aggregate transformation supports the following operations.
| Operation | Description |
|---|---|
| Group by | Divides datasets into groups. Columns of any data type can be used for grouping. For more information, see GROUP BY (Transact-SQL). |
| Sum | Sums the values in a column. Only columns with numeric data types can be summed. For more information, see SUM (Transact-SQL). |
| Average | Returns the average of the column values in a column. Only columns with numeric data types can be averaged. For more information, see AVG (Transact-SQL). |
| Count | Returns the number of items in a group. For more information, see COUNT (Transact-SQL). |
| Count distinct | Returns the number of unique nonnull values in a group. |
| Minimum | Returns the minimum value in a group. For more information, see MIN (Transact-SQL). In contrast to the Transact-SQL MIN function, this operation can be used only with numeric, date, and time data types. |
| Maximum | Returns the maximum value in a group. For more information, see MAX (Transact-SQL). In contrast to the Transact-SQL MAX function, this operation can be used only with numeric, date, and time data types. |
This transformation could also be implemented with a SQL query after an initial load, but this task makes it nice to take care of the transformation within SSIS so that the data is ready on export. Let’s take a quick look at how it works.
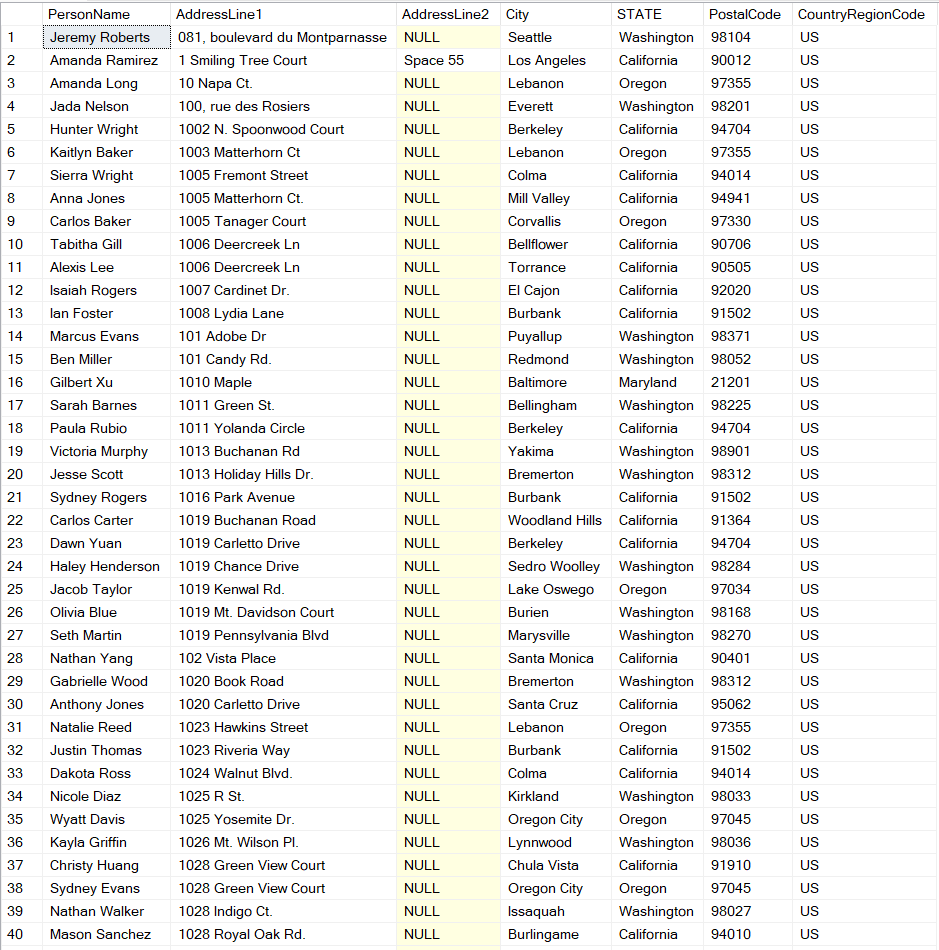
Using AdventureWorks database, I’ll run the following query which gives me everyone in the Person.Person table that is located in the US.
SELECT firstname + ' ' + lastname AS PersonName, AddressLine1, AddressLine2, City

,sp.[Name] AS STATE, PostalCode, CountryRegionCode

FROM person.Person p

JOIN person.BusinessEntityAddress bea ON p.BusinessEntityID = bea.BusinessEntityID

JOIN person.Address a ON bea.AddressID = a.AddressID

JOIN person.StateProvince sp ON a.StateProvinceID = sp.StateProvinceID

WHERE CountryRegionCode = 'US'
For this post, let’s pretend our boss wants to see how many people we have in each state. So a simple COUNT(*) and GROUP BY State query would work, but we’ll use SSIS to export this into a table using the Aggregate task.
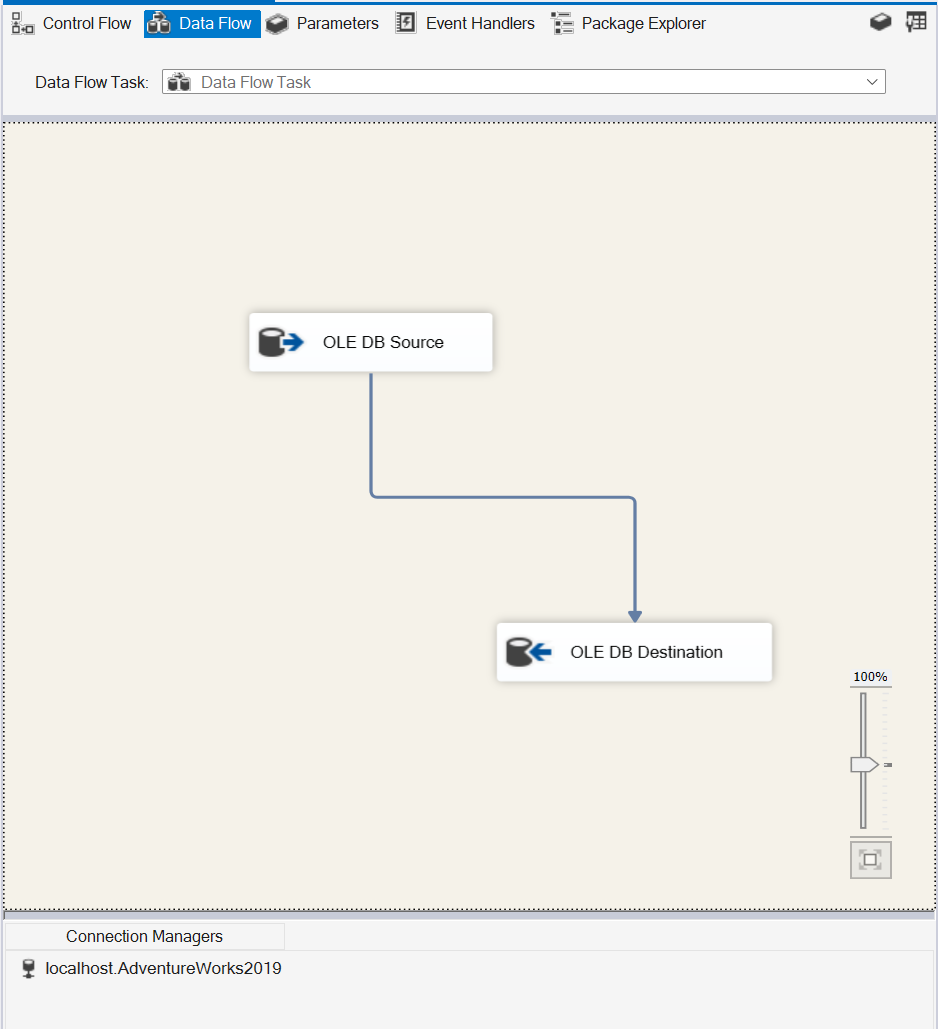
Fire up Visual Studio and let’s create a Data Flow Task, add source connection and destination connection.
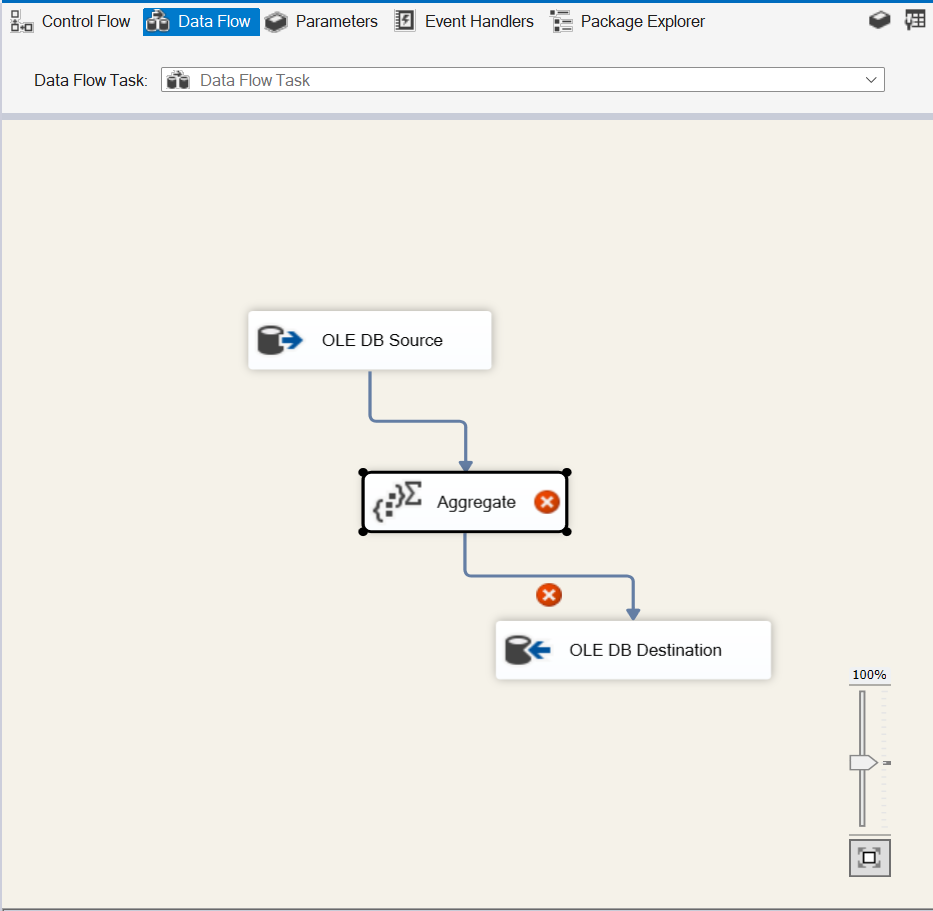
Next, let’s add our Aggregate task between our Source and Destination and open the editor:
![]()
This example is pretty straightforward as we want to do a COUNT on all records so we’ll choose (*) under Input Column, give it a name under Output Alias and the only available option for * is Count All.
![]()
Next, we want to get the number of people per state, so we’ll add State to our Input Column, give it a name, and select GROUP BY for our operation:
![]()
We can use multiple options on this screen such as SUM, AVG, MIN, MAX, etc. depending on data types.
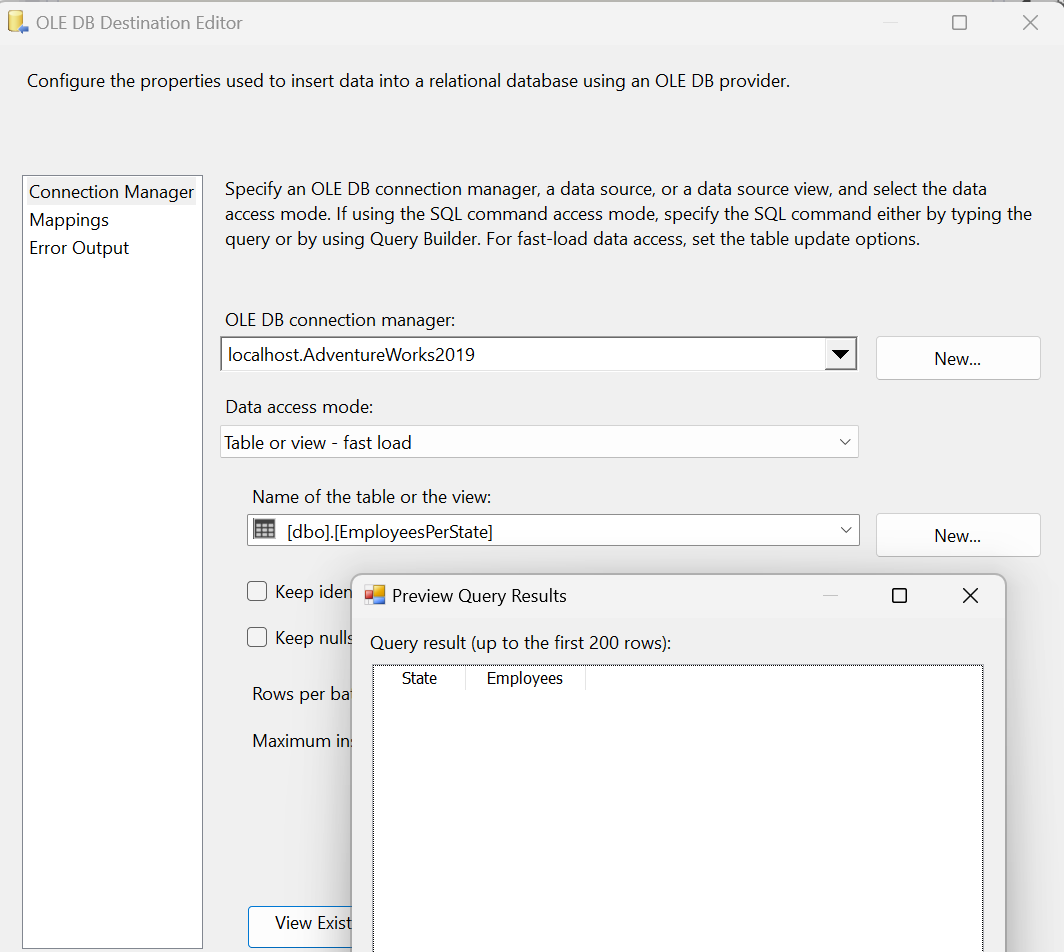
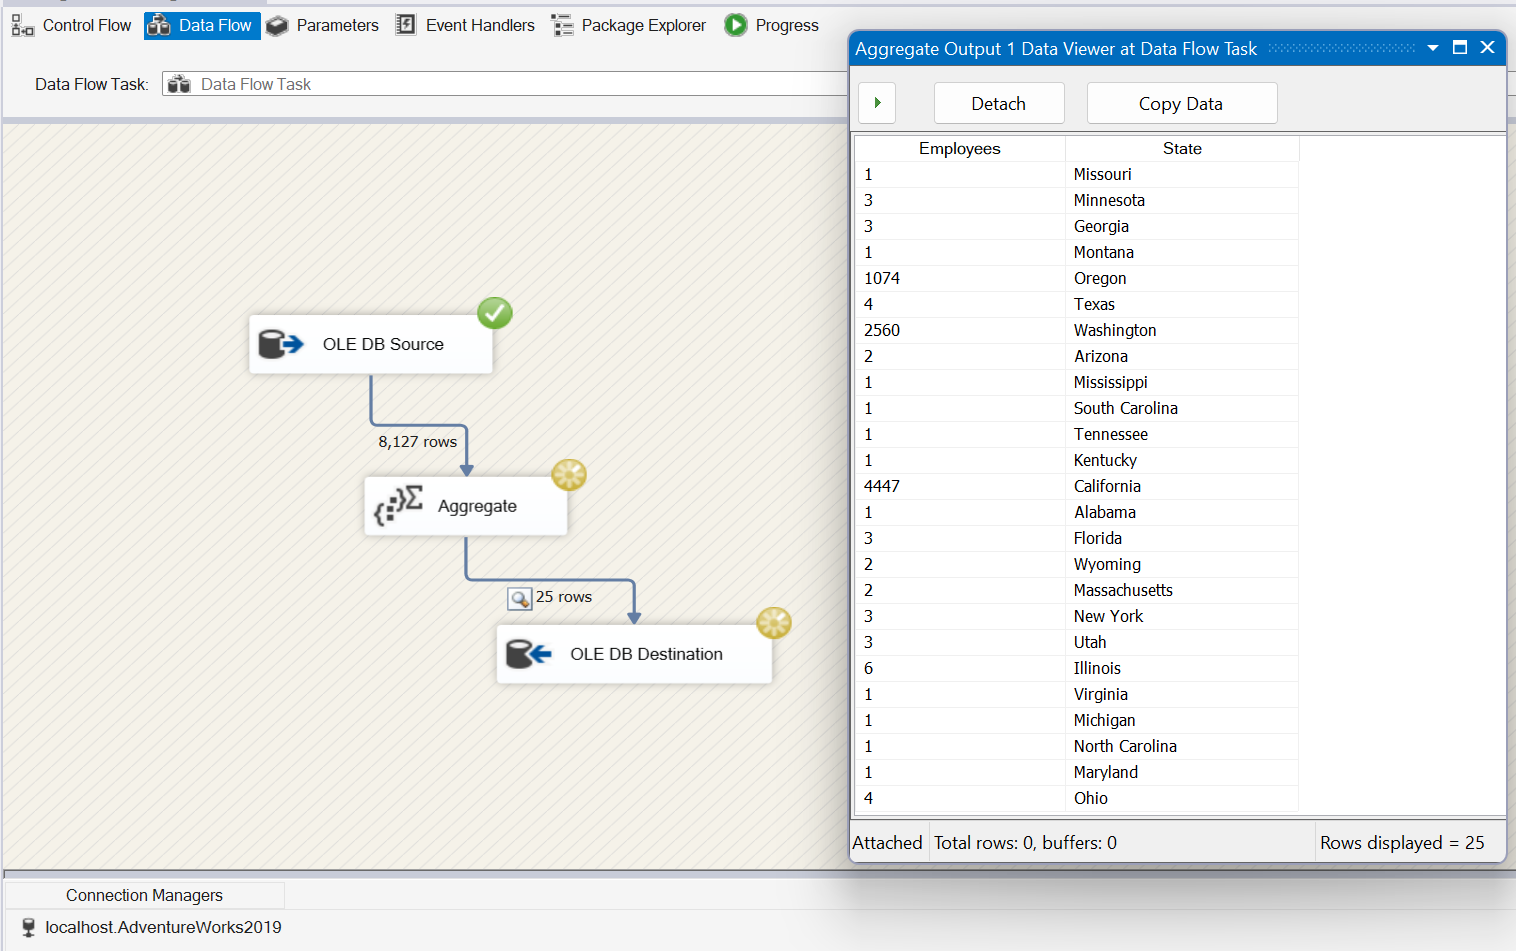
Hit OK on the screen which will take us back to our Data Flow task. Taking a look at our Destination task, you can see I have a table named EmployeesPerState with only two columns, Employee and State:
Save the package and execute and you can see that we’ve inserted the data we need. Boss is happy and gives you a $6 bonus.
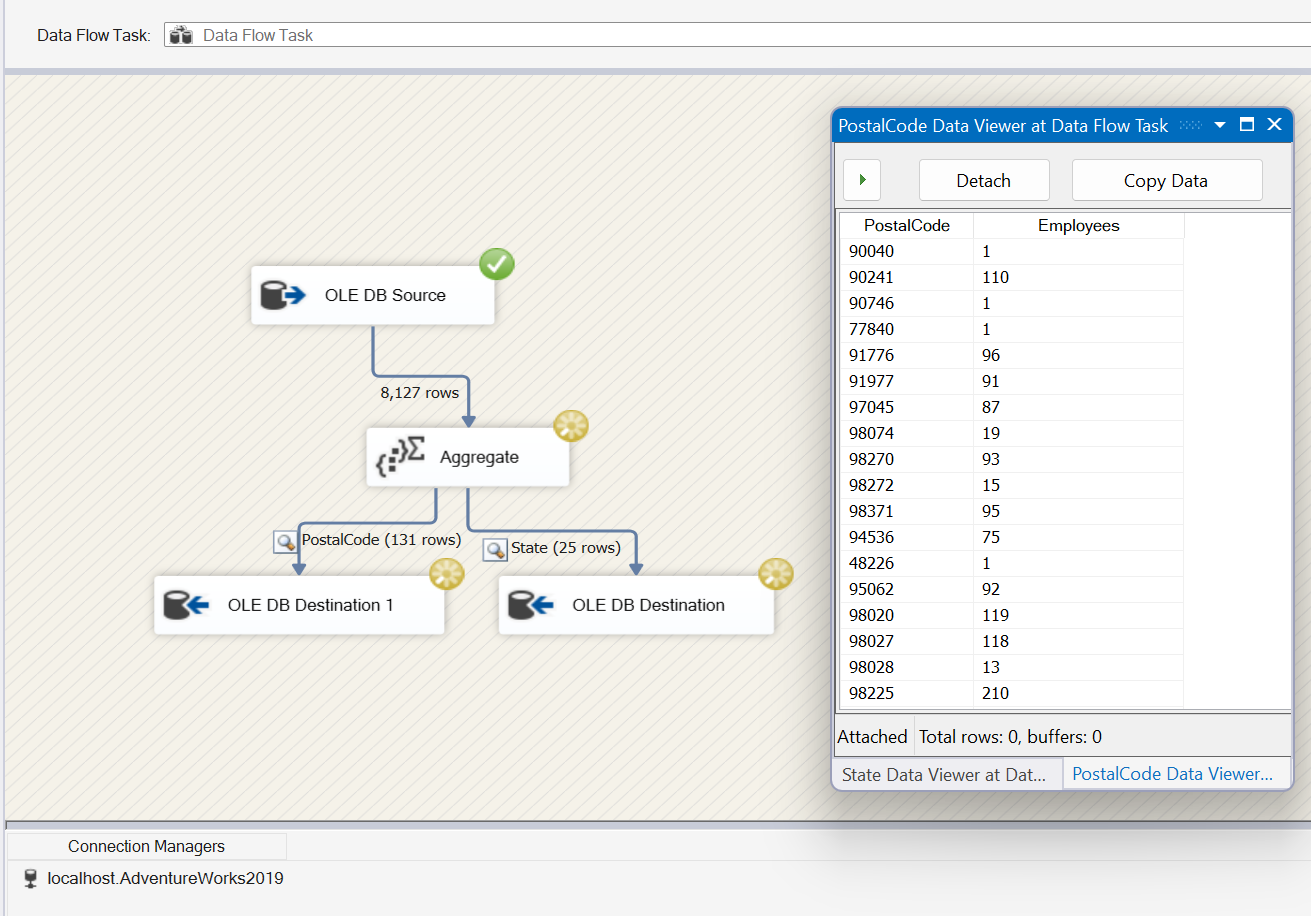
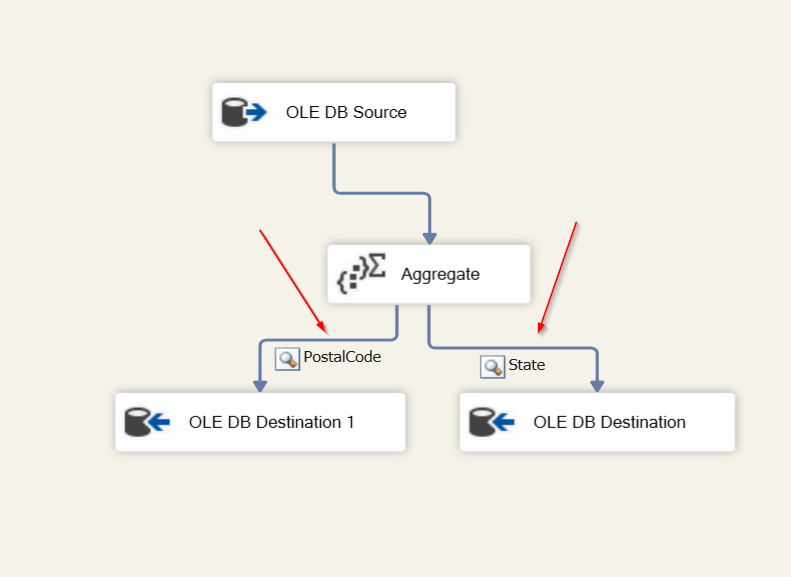
For Advanced Mode, you can create more than 1 GROUP BY criteria. For example, the boss now wants to see the number of people in each state, but he also wants to see how many people per zip code. For this, we would expand the Advanced/Basic drill down and add another input for his request. We’ll name the Aggregation PostalCode and Group by PostalCode. Like we did for our State aggregation, we’ll add a Count all Operation and (*) Input.
Back on the Data Flow task, we’ll drag another Destination task into the editor and configure.

You can now see both Destination tasks with a label for each.
If we run the package again, you can see results have been inserted into our PostalCode table and the boss gives you another $6 bonus and let’s you take Sunday off.